How to Add a Live Sunset Forecast Widget to Your Website
Add a live sunset forecast widget to your website: pick a size, theme, and width, then paste a script, iframe, or WordPress snippet. See live demos.
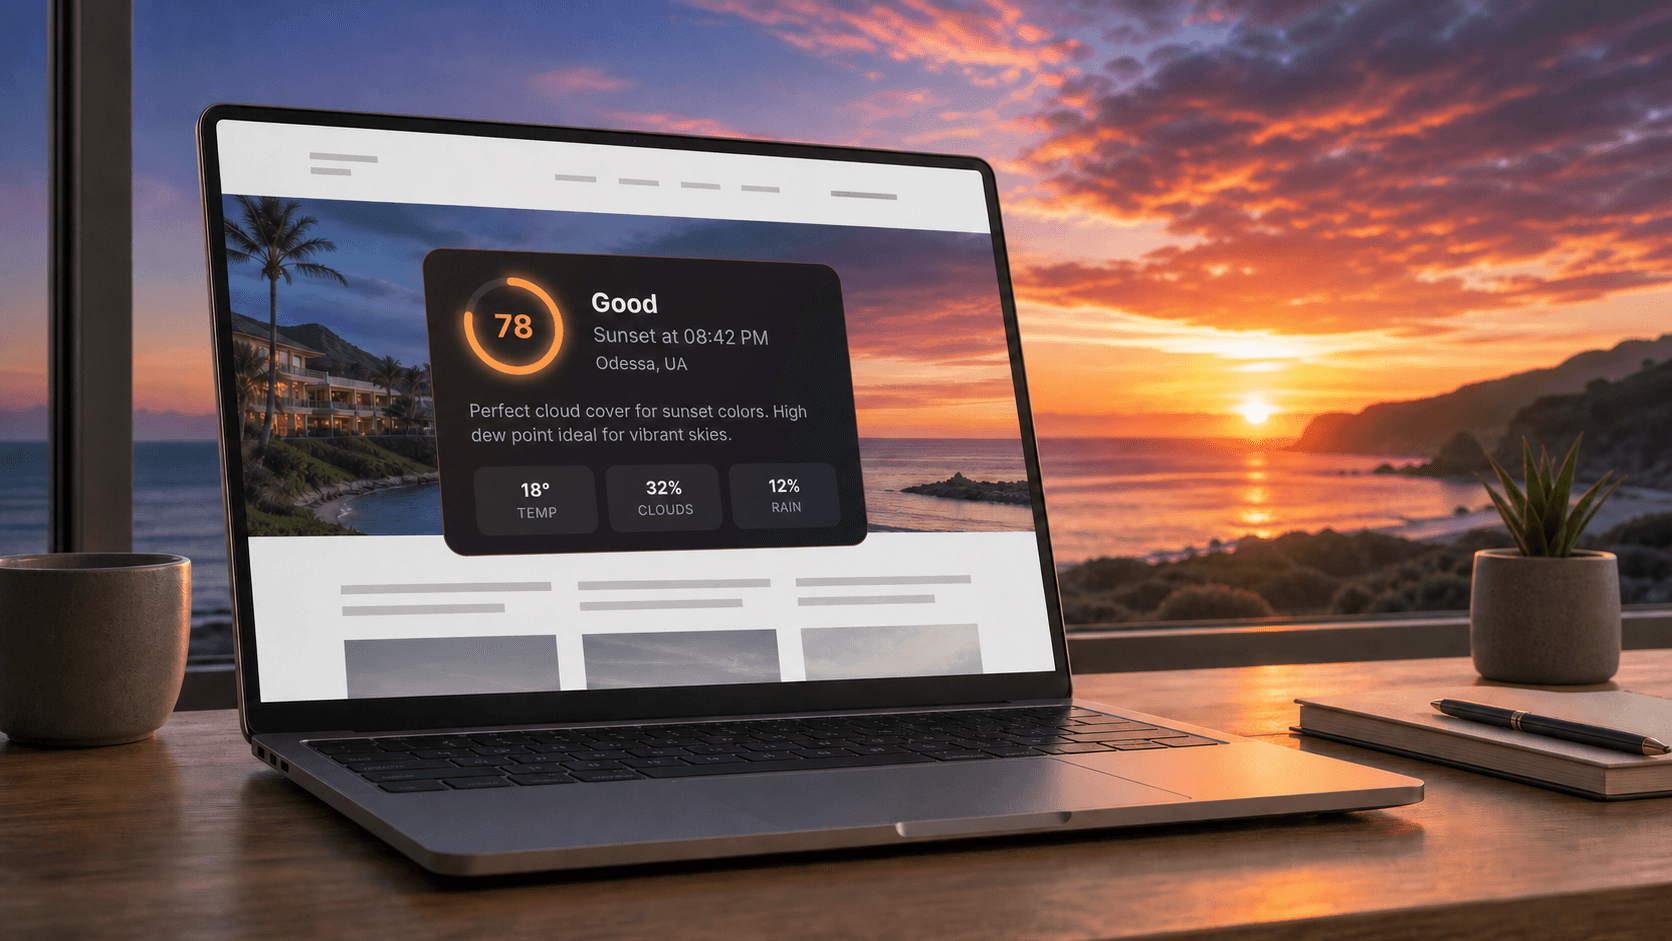
TL;DR
Sunset Predictor Widgets add a live, location-specific sunset quality score and sunset time to your website. Pick a placement preset, size, theme, width, language, and units in the free builder, then paste the generated script, iframe, or WordPress code. You can preview every option in the showcase and in-context demos first.
Your visitors should not have to open another weather app to decide whether tonight is worth planning around. A sunset forecast widget puts the answer directly on your website, next to the room, destination, webcam, or photography information they are already viewing.
Sunset Predictor Widgets turn a fixed location into an automatically updated forecast you can embed without building your own weather integration. The result is a compact, useful feature for travel publishers, hotels, restaurants, tourism websites, webcam pages, and photographers. Personal websites can use the Free plan; business websites need a paid plan, and hotels can start with a free 30-day pilot.
See it before you read further:
- Open the widget builder and change the theme, size, and layout in a live preview — no account needed.
- Browse every size and theme side by side in the widget showcase.
- See the widget inside realistic websites: a travel blog, a hotel homepage, a restaurant terrace, and a live webcam page.
What the sunset forecast widget shows
Every widget gives visitors the core information they need at a glance:
- A sunset quality score from 0 to 100
- A clear rating: Epic, Good, Fair, or Poor
- The local sunset time for the selected location
- A location name or your own display label
- An optional sentence explaining the forecast
- Optional weather details on the Custom size
The score is presented in a color-coded ring, and the card background follows the rating, so visitors can understand the outlook before reading the number. For example, a hotel in Santorini can display the forecast for Oia, while a webcam operator in San Francisco can label the same type of widget “Golden Gate View.”
The Custom size can also show selected weather conditions: temperature, cloud cover, rain probability, humidity, wind, visibility, pressure, and air quality. You choose which values appear and the order in which visitors see them.
Every widget links to the Sunset Predictor forecast page for the nearest city (or to the Sunset Predictor homepage when no city is nearby), so curious visitors can open the full outlook in a new tab without leaving your page behind.
Sunset widget vs. a regular weather widget
A regular weather widget shows temperature, rain, and wind. It does not tell visitors whether the sunset will be worth watching: that depends on how cloud cover at different heights, humidity, visibility, and air quality combine at sunset time. The sunset widget turns those conditions into one score and a rating, so visitors get the answer without reading a forecast table. If your visitors also need general weather, the Custom size adds a weather grid under the score.
Three sizes, three themes
The fastest way to compare the options is the widget showcase, which shows all nine combinations with sample scores from every rating band.
| Size | What it shows | Typical placement |
|---|---|---|
| Compact | One row: score, rating, sunset time, location | Header or footer strips, narrow sidebars, next to a video player |
| Standard | Score ring, rating, sunset time, location, optional explanation | Sidebars, booking boxes, article columns |
| Custom | Everything in Standard plus a weather grid you configure | Content columns, photography guides, conditions pages |
Each size works with a light, dark, or auto theme. Auto follows the visitor's system setting, which suits websites that already switch between light and dark mode.
Why add a sunset widget to your website?
A widget is most valuable when sunset conditions affect what your visitors plan to do. A destination guide can describe where to watch the sunset; the widget answers whether tonight looks promising, without visitors leaving your page to search elsewhere.
Add a feature without maintaining a forecast system
Weather data, scoring, labels, time formatting, and automatic refreshes are handled for you. Installation is a short embed snippet rather than a custom API project with its own interface, error handling, and ongoing maintenance.
If you do want to build your own interface, the same predictions are available through the Sunset Predictor API.
Fit the widget into your existing design
Theme, size, accent color, width, and a visitor-friendly label such as “West Terrace” let the widget match your page. The widget is isolated from your site's stylesheet. Your own CSS rules for links, padding, or fonts cannot distort it, and its styles cannot leak into your page.
Serve international visitors
Widgets support 14 languages: English, French, German, Spanish, Russian, Portuguese, Japanese, Romanian, Ukrainian, Arabic, Hebrew, Simplified Chinese, Hindi, and Italian. Arabic and Hebrew widgets render right-to-left automatically. You can also choose metric or imperial units and a 12-hour or 24-hour clock.
How to create your first widget
You can try the builder and live preview before signing in. An account is only required when you want to save the widget and receive its embed code.
1. Open the widget builder
Open the Sunset Predictor widget builder and experiment with the public preview. The preview updates as you change the theme, size, layout, color, language, and other display settings. Drag the preview score slider to see how each rating band looks, and switch the slot width (240 px, 320 px, 400 px, or full) to test narrow and wide placements.
Tip: you can open the builder with your own city already selected by adding its coordinates to the address, for example the builder preset for Lisbon.
When you are ready to save, sign in or create a free account. From your widget dashboard, select Create Widget. The Free plan covers one widget on a personal, non-commercial website; for a business website, choose a paid plan.
2. Name the widget for your own dashboard
Enter a short internal name such as “Lisbon Hotel Homepage” or “Brighton Webcam.” Visitors see the selected location label, not this management name, so use something that will help your team recognize the widget later.
3. Search for the forecast location
Type at least three characters and select the correct city from the results. The chosen coordinates determine the forecast and local sunset time.
You can also enter an optional display name. This is useful when the public-facing place has a more specific or familiar name than the city result. For example:
- Use “Our Rooftop View” instead of “Bucharest, Romania”
- Use “Copacabana Beach” instead of “Rio de Janeiro, Brazil”
- Use “North Shore Camera” instead of the nearest municipality
Choose carefully: a widget's forecast location cannot be changed after creation. Create a new widget if you later need a different place. The display name can still be edited.
4. Pick where the widget will go
The builder asks Where will it go? and offers four one-click presets. Each preset sets the size, width, and description together, and you can fine-tune everything afterwards.
| Preset | Size | Width | Description |
|---|---|---|---|
| Sidebar | Standard | Fixed 300 px | Off |
| Content column | Custom | Fills the column, up to 800 px | On |
| Header or footer strip | Compact | Fills the strip | Off |
| Booking box | Standard | Fills the box | On |
On plans without the Custom size, the content column preset uses the Standard size with the description on.
Under Width, choose Fixed (220–480 px) or Fill container with an optional maximum width, and align the widget to the start or the center of its space. The widget adapts to the width it actually receives, not to the screen size:
- Below 260 px, it switches to a narrow layout with a smaller ring.
- From 480 px wide, the explanation and weather details move next to the score instead of below it.
A fixed-width widget still shrinks when its container is narrower, so it does not overflow on phones.
5. Choose the appearance and information
The best settings depend on where the widget will appear:
| Setting | Options | Practical guidance |
|---|---|---|
| Theme | Light, dark, auto | Use auto when the host website already follows the visitor's system theme. |
| Size | Compact, Standard, Custom | Compact suits strips and tight spaces; Standard balances detail and space; Custom adds a weather grid. |
| Accent color | Presets or custom color | Match a brand color while keeping enough contrast around the score ring. |
| Description | On or off | Add a short explanation of why the forecast received its score. Not available in the Compact size. |
| Language | 14 supported languages | Match the language of the page where the widget will appear. |
| Units | Metric or imperial | Choose the format your visitors expect. |
| Time | 12-hour or 24-hour | Match the convention used elsewhere on your website. |
| Refresh | 15 to 120 minutes | Available frequency depends on the account plan. |
| Branding | Show or hide the “Powered by Sunset Predictor” footer | Hiding it is available on Pro, Business, and Enterprise. |
For the Custom size, select and reorder the weather details that matter to your audience. A photographer might prioritize clouds, visibility, and rain probability. A hotel may prefer temperature, clouds, and wind.
6. Create the widget and copy the embed code
Select Create Widget. The next screen shows the saved preview and three installation tabs: Script Tag, iFrame, and WordPress.
| Embed option | Best for | What to know |
|---|---|---|
| Script Tag | Most websites and custom layouts | Loads asynchronously and renders the widget directly in the page, isolated from your CSS. |
| iFrame | Website builders and CMS platforms that block third-party scripts | Keeps the widget in its own document. The included listener adjusts the frame height automatically. |
| WordPress | Any WordPress site, block editor or classic editor | The iframe code with step-by-step WordPress instructions. No plugin required. |
The Script Tag option looks like this, with your unique widget ID inserted automatically:
<script src="https://sunset-predictor.com/api/widget/embed.js?v=3"
        data-widget-id="wgt_your_widget_id"
        async></script>
<a href="https://sunset-predictor.com/location/your-city/?ref=widget_seo">Sunset forecast for Your City</a>
The script inserts the widget directly after itself, so you do not need a separate container element. The small text link below it is a plain attribution link to the forecast page for your location. It stays readable even if scripts are blocked. Enterprise plans can remove it.
The iframe option contains an <iframe> plus a short script that resizes the frame to fit the widget:
<iframe id="sunset-widget-wgt_your_widget_id"
        src="https://sunset-predictor.com/widget/wgt_your_widget_id"
        title="Sunset forecast for Your City"
        height="200" frameborder="0" scrolling="no"
        style="display: block; width: 100%; border: none; color-scheme: normal;"></iframe>
<script>
  /* resize listener — included automatically in the copied code */
</script>
Use the Copy Code button rather than editing the generated ID by hand.
7. Paste the snippet into your website
Add the code where you want the widget to appear. The exact location depends on the platform:
- On a custom-coded site, place it in the relevant page template or content block.
- In WordPress, open the WordPress tab. In the block editor, add a Custom HTML block. In the classic editor, switch to the Text tab. For a sidebar or footer, go to Appearance → Widgets and add a Custom HTML widget. Publishing embedded HTML needs the Administrator or Editor role (Super Admin on a Multisite network).
- In a page builder such as Wix, Squarespace, Webflow, or Elementor, use an HTML, embed, or code element.
- In a CMS with strict script rules, use the iFrame tab.
Publish or update the page, then open the live URL and check the widget on both desktop and mobile. Confirm that the location, language, clock format, units, and spacing all fit the page around it.
If your CMS blocks the embed code or the widget does not appear, contact Sunset Predictor support for help with the installation.
What happens after the widget is live?
The widget requests fresh prediction data automatically according to its configured refresh interval. The interval available to you depends on your plan, from every 120 minutes on Free to every 15 minutes on Enterprise.
From your dashboard you can:
- Edit the name, label, appearance, width, language, units, time format, and refresh interval without replacing the embed code. Changes appear on live pages within a few minutes.
- See total impressions (widget renders) and clicks (visitors who followed the widget's link)
- Copy the embed code again
- Pause, resume, or delete a widget
Which plan fits your website?
You can create one branded widget on the Free plan. Paid plans support commercial use, more widgets, higher monthly view limits, faster refreshes, the Custom size, and optional branding removal. You can compare current plans and pricing before choosing a tier.
| Plan | Widgets | Monthly views | Fastest refresh | Custom size | Remove branding | Commercial use |
|---|---|---|---|---|---|---|
| Free | 1 | 2,000 | 120 minutes | No | No | No |
| Pro | 5 | 25,000 | 60 minutes | Yes | Yes | Yes |
| Business | 25 | 150,000 | 30 minutes | Yes | Yes | Yes |
| Enterprise | Unlimited | 1,000,000 | 15 minutes | Yes | Yes | Yes |
The consumer Plus plan has the same widget limits as Free. Layout options — placement presets, fixed or full width, and alignment — are available on every plan, including Free.
If a widget reaches its monthly view allowance, it keeps working: extra views stop counting and Sunset Predictor branding is shown until the next month. A traffic spike never turns your page into an error state.
Remember that active and paused widgets both count toward the number of widgets allowed by your plan. Delete a widget if you no longer need it and want to free that slot.
Practical ways to use the widget
The strongest placement connects the forecast to a decision the visitor is already making. Each example below links to a live mockup on the in-context demo page.
Hotels and resorts
Place a Standard widget on an amenities, rooftop bar, or local experiences page, or use the Booking box preset next to your reservation form. Use the property's public-facing name as the display label and match the accent color to the hotel brand. See the widget on a sample hotel homepage, or read how hotels use the sunset widget, including the free 30-day pilot.

Restaurants, bars, and terraces
A terrace with a sea view sells more tables on a good sunset evening. Put a Standard widget with the description next to your “Book a table” button, so guests can pick the right time slot. See the widget on a sample restaurant terrace page.
Tourism and destination websites
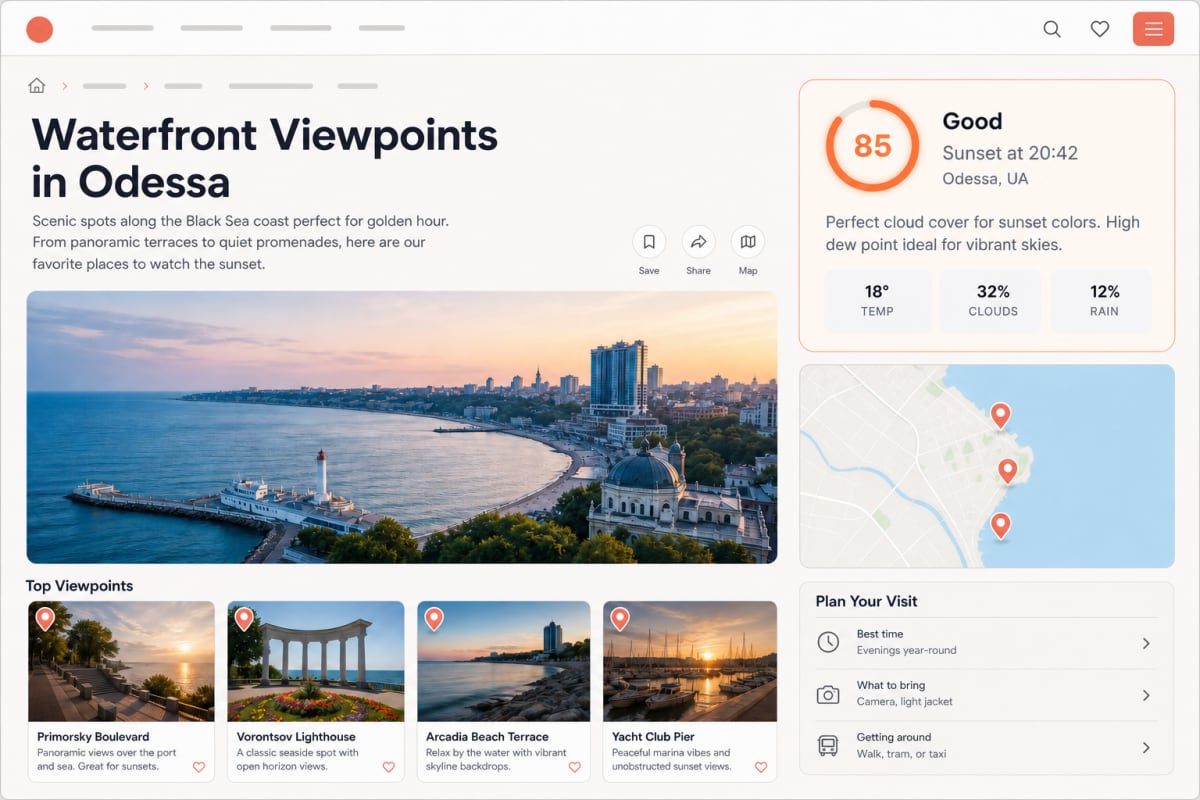
Add location-specific widgets to city or regional guides. A page about sunset viewpoints in Barcelona can show the current Barcelona forecast, while a separate Tenerife guide can use its own widget. See the widget inside a sample travel blog post.
Webcam and surf websites
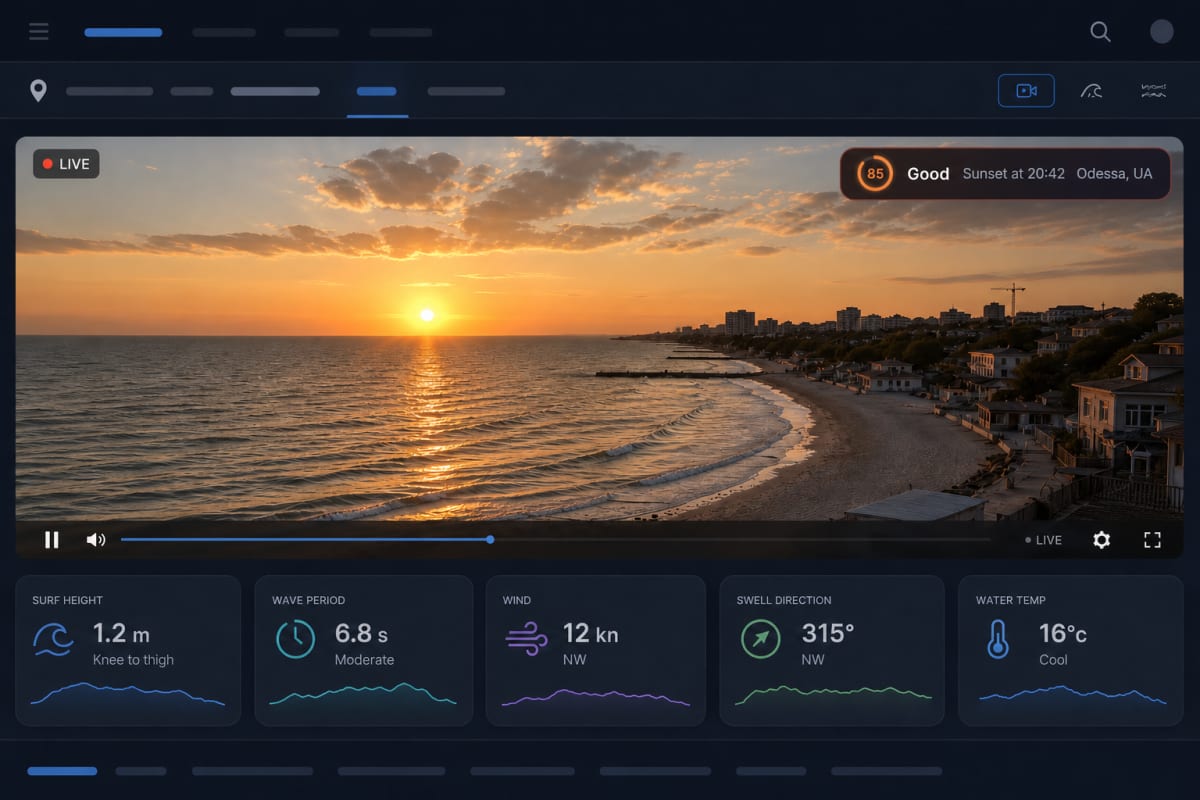
Position a Compact widget near a live camera or current-conditions panel. The sunset score adds quick context without competing with the video feed. See the Compact widget on a sample webcam page.
Photography guides
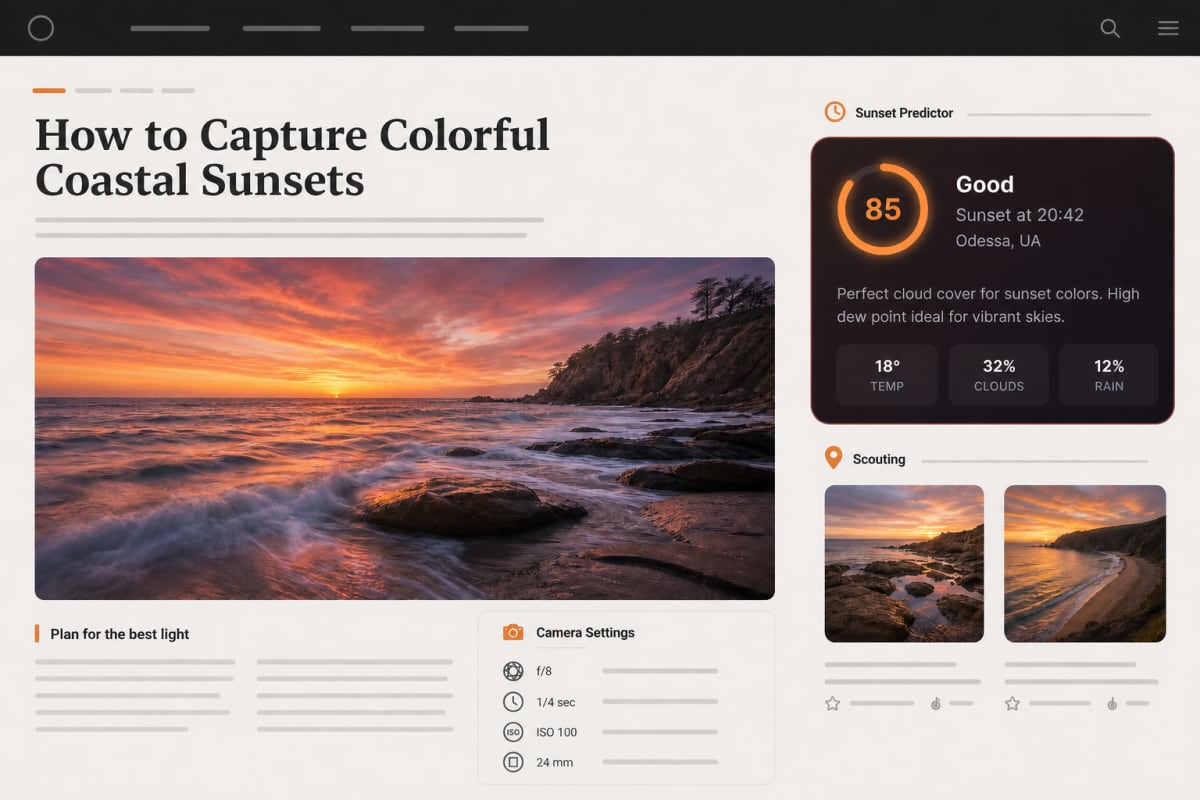
Use the Custom size to show clouds, rain probability, visibility, and wind alongside the score. This gives readers more context when deciding whether to scout a location or pack equipment.
Event and venue pages
For outdoor venues where the view is part of the experience, a widget can help visitors understand the sunset outlook for the venue's fixed location. Keep the description enabled if your audience benefits from a plain-language explanation of the score.
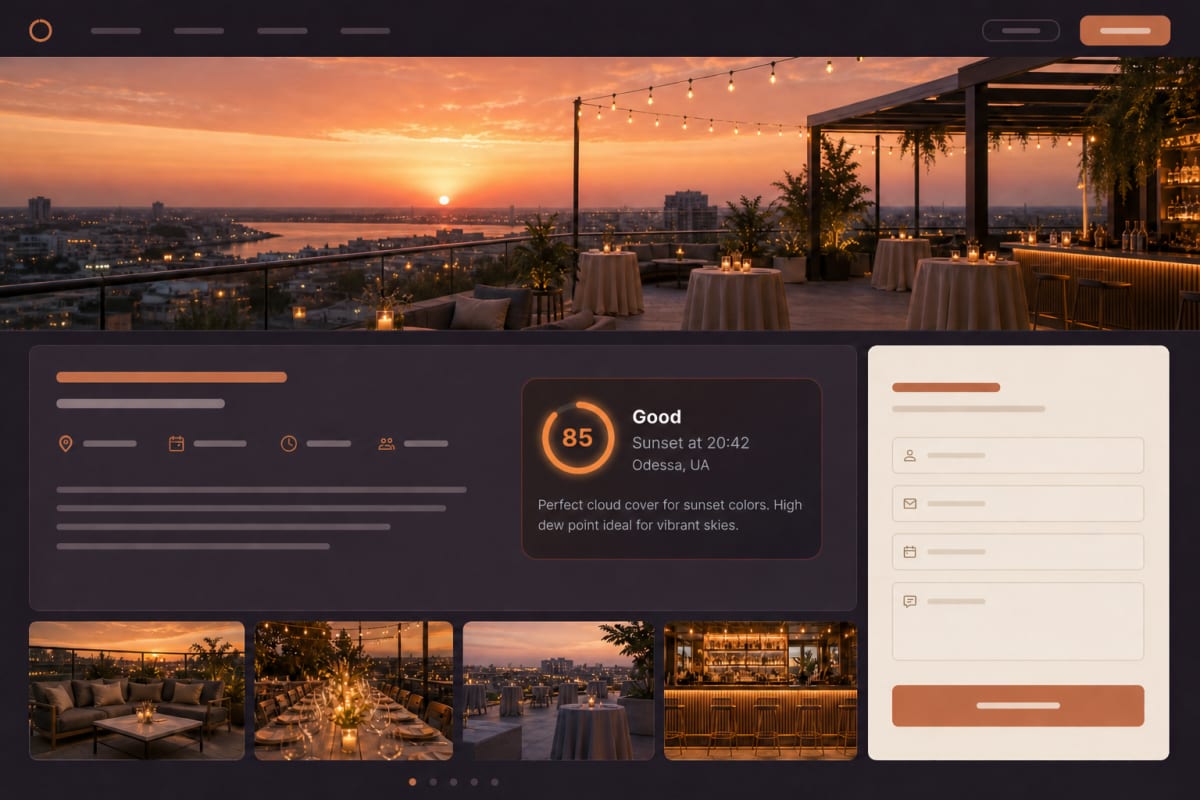
Lobby screens and smart-home dashboards
Open the widget's iframe URL (the src address in the iframe code) on a lobby display, reception tablet, kiosk, or Home Assistant webpage card. The page refreshes itself on the plan's interval, even when it stays open for days. If the connection drops, the last forecast stays on screen instead of an error page.
Tips for a better embed
Before publishing the widget widely, make a few deliberate choices:
- Put it near related content. A forecast beside a rooftop description is more useful than one hidden in a generic footer.
- Use a specific display label. “Harbor Terrace” gives visitors more context than a broad city name when the location is already obvious.
- Keep the information density appropriate. Compact works for tight layouts; Custom works when weather detail is part of the page's purpose.
- Do not place a “Fill container” widget inside an element that sizes itself to its content, such as an inline-block box. Give the widget a fixed width there instead.
- Review impressions periodically. They show whether the placement receives traffic and whether your current plan still fits.
Conclusion
A sunset forecast widget turns changing weather data into a simple, relevant website feature. Choose one meaningful location, pick where it goes, tailor the design to your audience, paste the generated embed code, and manage the widget from one dashboard. Compare the sizes in the showcase, see it on sample websites, then create your first widget before deciding where it belongs on your site.
FAQ
Do I need to be a developer to add the sunset widget?
No. Configure the widget in the visual builder, copy the generated script, iframe, or WordPress snippet, and paste it into an HTML or embed block on your website. Some managed platforms may require permission to add custom code.
Can I see the widget before I create an account?
Yes. The widget builder has a live preview that works without signing in, the showcase page shows every size and theme, and the in-context page shows the widget inside sample blog, hotel, restaurant, and webcam websites.
Can I change a widget after embedding it?
Yes. Most settings, including the display label, appearance, width, language, and refresh interval, change from your dashboard without re-pasting the code. The forecast location itself cannot be changed.
How do I add the widget to WordPress?
Open the WordPress tab in the embed code panel, copy the code, and paste it into a Custom HTML block. In the classic editor, use the Text tab. For a sidebar or footer, add a Custom HTML widget under Appearance → Widgets. No plugin is required.
Will the widget fit on mobile and in narrow sidebars?
Yes. The widget adapts to the width of the space it is placed in, not to the screen size, so it fits phones and sidebars down to about 220 pixels.
What happens if the monthly widget view limit is reached?
The widget keeps working. Extra views stop counting for that month, and Sunset Predictor branding is shown until the next month.
Should I use the script or iframe embed?
The script is a good default for most websites. Use the iframe when your CMS blocks third-party scripts, and the WordPress tab on WordPress sites. All three options are generated automatically for each widget.